Simple Tips for Keeping Your AWS Costs Under Control

Hey there! I'm a DevOps engineer, and I absolutely love what I do. I'm passionate about working with code and making sure everything is running smoothly. But I also have a real flair for writing. I want to make technical information more accessible to beginners, and help people feel confident using technology. That's why I've decided to combine my two passions and start writing about tech.
I'll be sharing tips, tricks and tutorials on everything from coding to cloud computing. So if you're new to the world of tech, or just want to learn more about what goes on behind the scenes, be sure to check out my blog.
AWS can be a great way to save money on your hosting costs, but if you're not careful, you can quickly rack up a big bill. In this post, we'll share some tips for controlling your AWS costs. Whether you're just starting with AWS or using it for a while, these tips will help keep your spending in check. So, without further ado, let's get started!
Must-haves
You need an AWS account.
Create a Monthly Cost Budget for Your Account
We will set up notifications in the AWS Billing Console to avoid incurring unnecessary costs. We’ll set up three notifications.
One notification will let us know if our costs reach 60% of our budget. Another notification will let us know if our costs are forecasted to exceed our budget. And the third notification will let us know if our costs actually do exceed our budget.
This way, we can always be aware of where we stand financially and adjust accordingly.
Log in to your account
The first thing we need to do is log in. Without logging in, we won’t be able to do anything. We will enter our username and password, and then we are good to go.
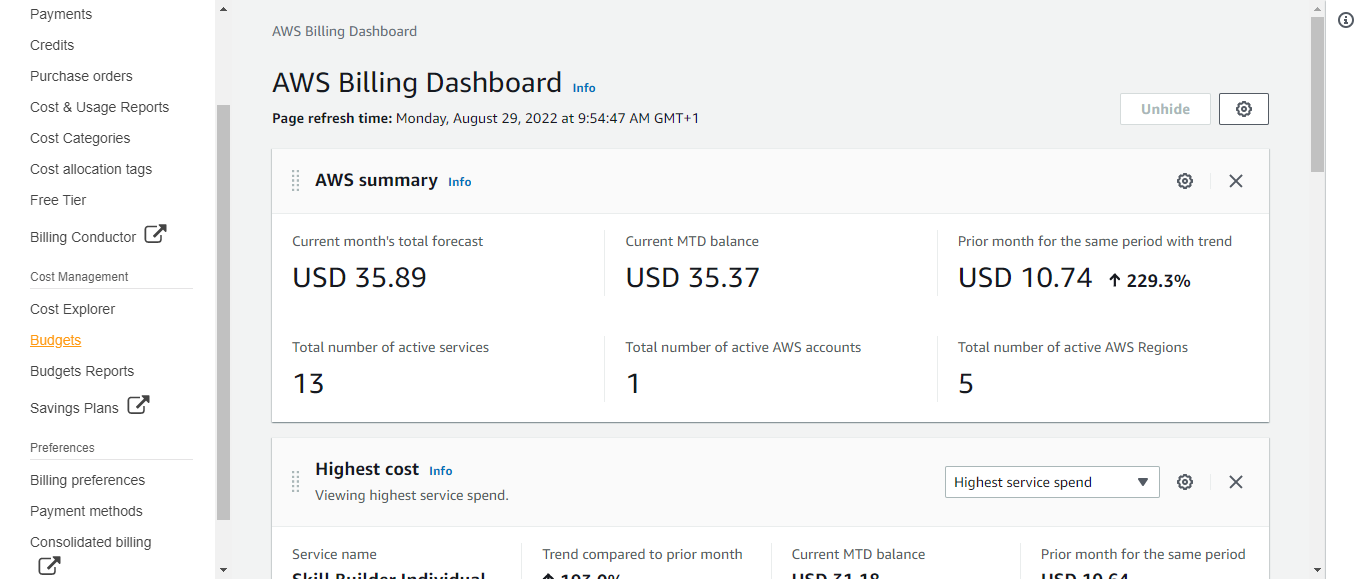
Billing page
In our AWS console, we’ll navigate to the billing section. We can find this by searching for "billing" in the search bar.

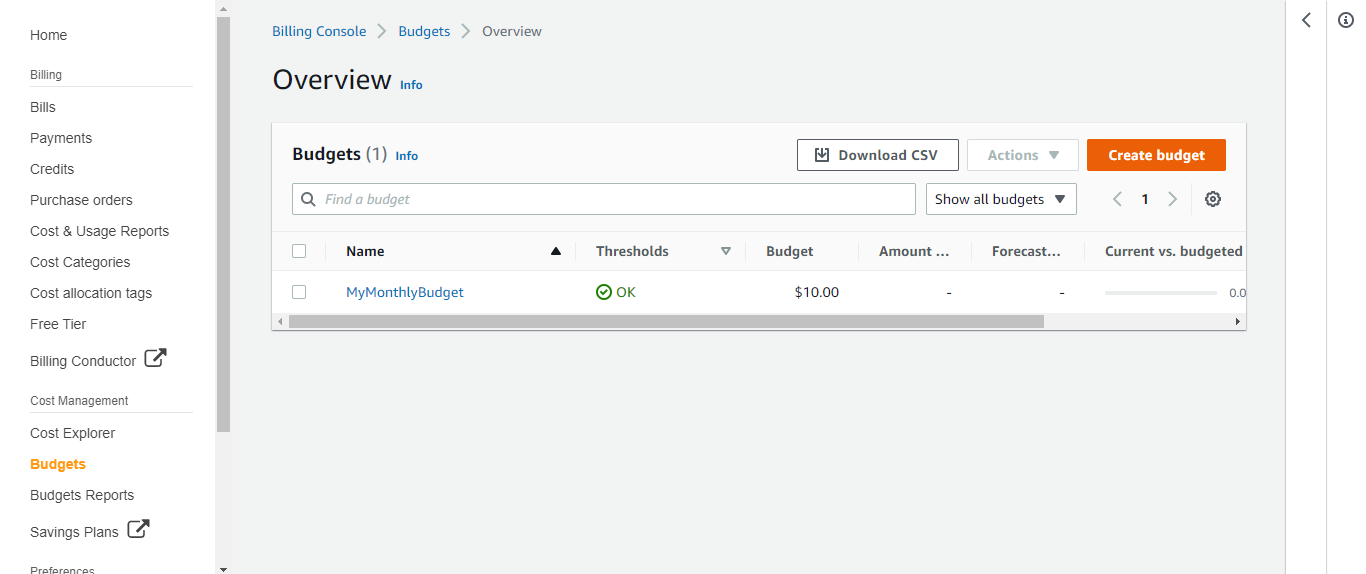
Once in the billing section, click on the "Budgets" option on the left-hand side of the page.
On the next page, click on the "Create Budget" button. Now we will need to choose a budget type. For this example, we'll be using a cost budget, but there are also options, e.g, usage budget or savings plans budgets. After we have selected our budget type, click on the "Next" button.
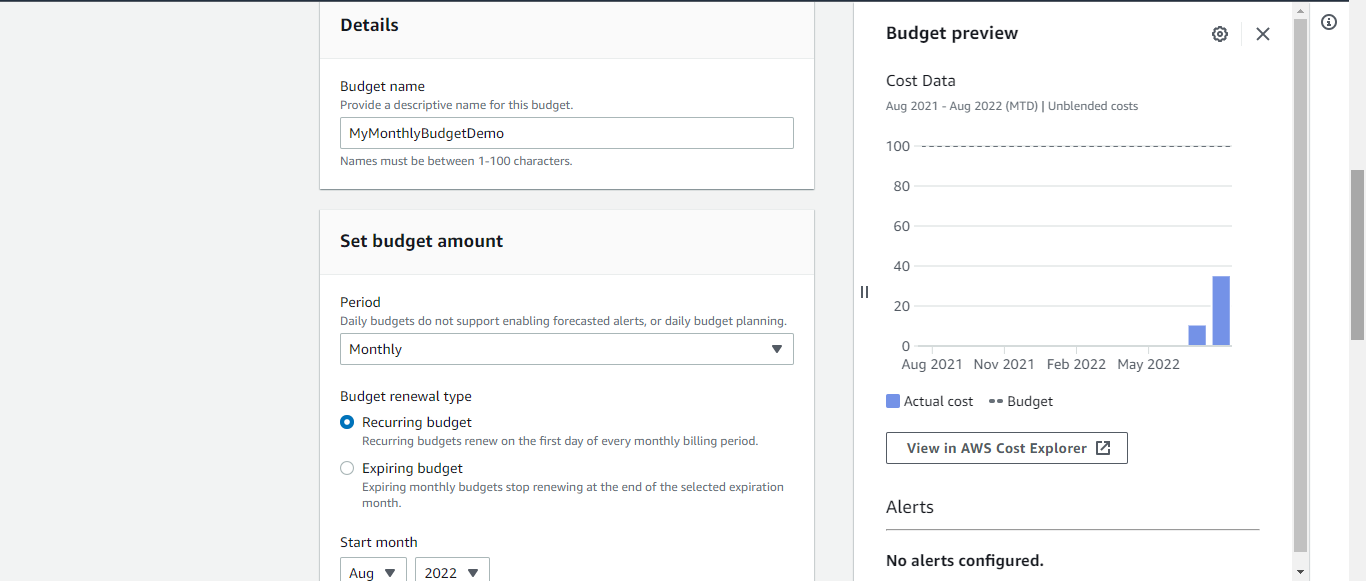
Set your budget
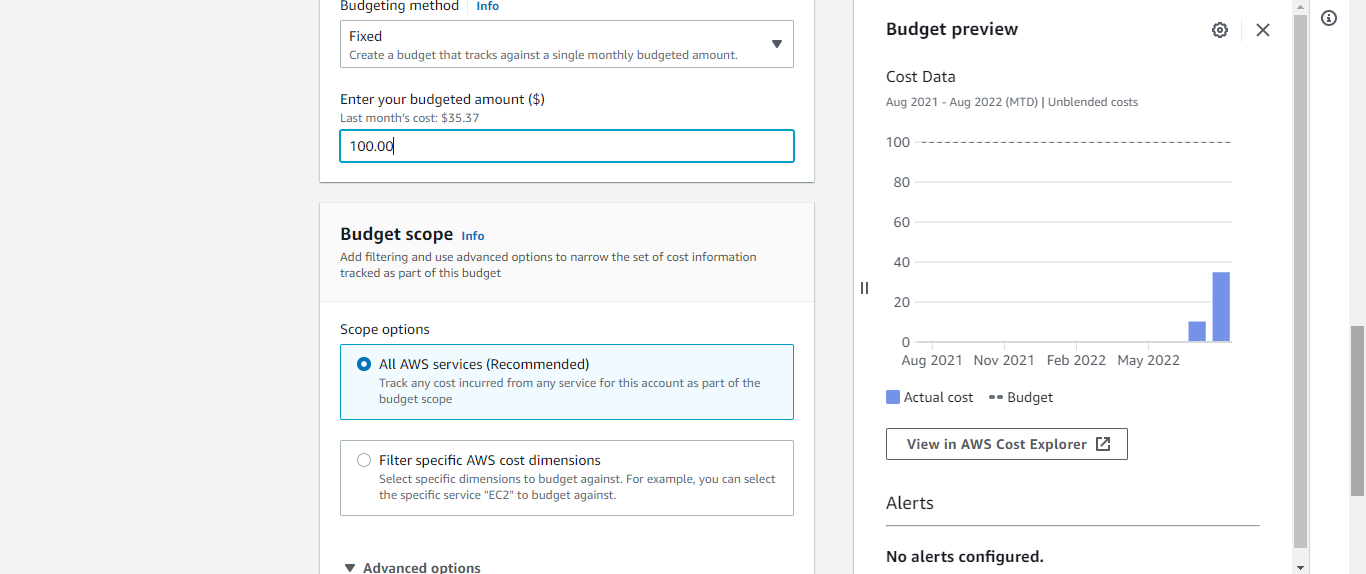
It's time to give our budget a name! We can choose any name we want. For our budget period, we'll choose monthly, and for our renewal type, we'll choose a Recurring budget. Our start month will be August 2022, and we'll enter our budget amount as $100. Everything else can stay as default, so we'll click on Next.
Configure alerts
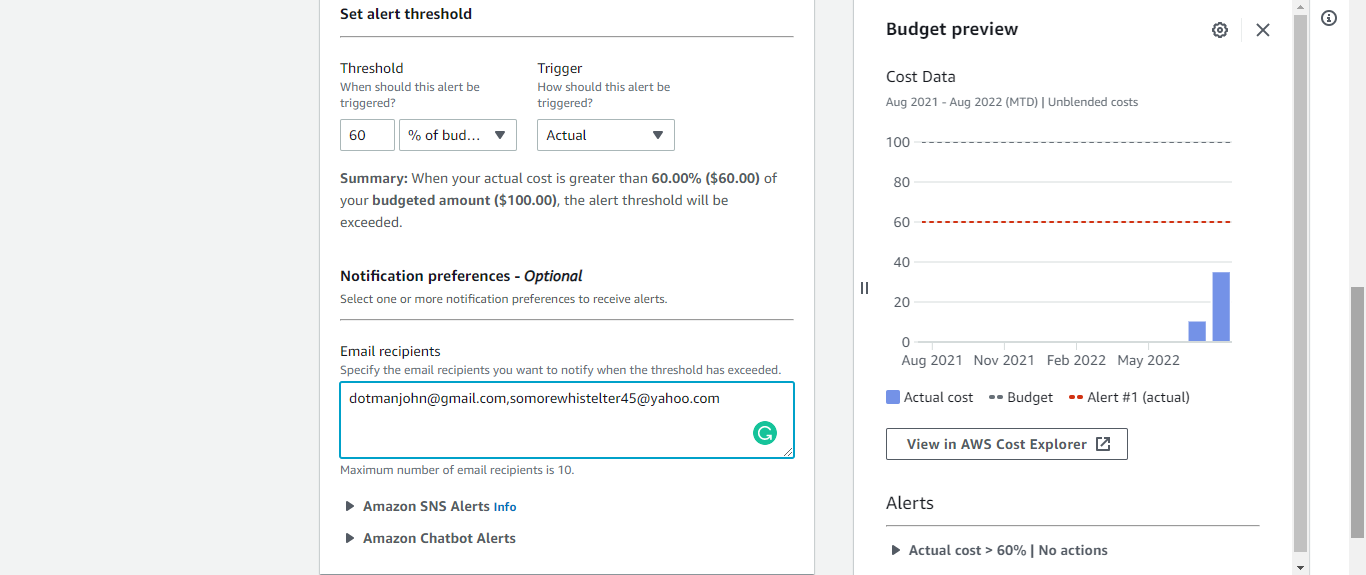
Now, we will configure three alerts. First, we need to click on "add an alert threshold." We are going to set the value to 60% and add the recipients' emails.
Next, we will click on “add an alert threshold” to add the second alert. For the second alert, we want to be notified by email if our costs are forecasted to exceed our budget. So, we will set the value to 100% and change the trigger to “forecasted.” We will add our recipients’ emails.
The last alert on our list is for when our costs exceed our budget. We'll set the value to 100% and leave the trigger on “Actual.” Then we'll add our recipients’ emails.
Click on Next
Attach actions
This stage is optional. We won’t touch anything here; we will leave it as default.
Click on Next.
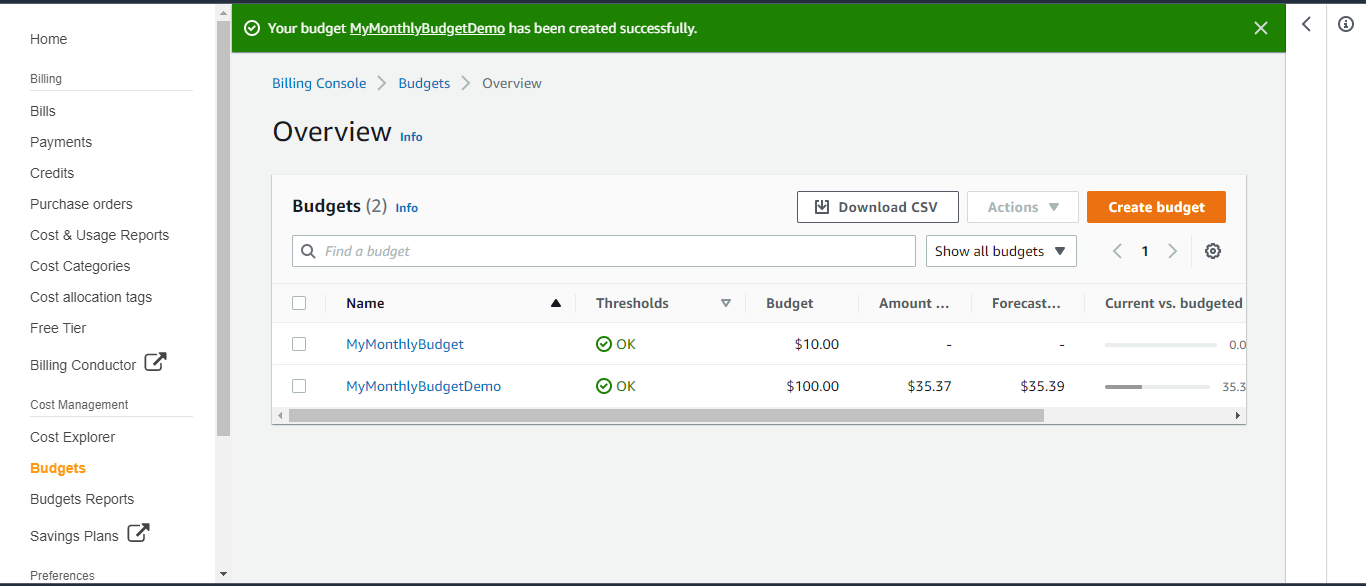
Finally, we will review our budget and click "create budget."
Conclusion
We arere done! After these simple steps, we successfully created our budget on AWS. Congratulations! Not only does this save us time and money in the long run, but it's also a great way to get started with AWS. I hope you found this post helpful and easy to follow.


